Managing Documents
Documents are the core of your Inkweld project—they hold your chapters, scenes, notes, and prose. This guide covers how to work with documents in the project navigator.
Creating Documents
From the Create Button
At the bottom of the project tree, there's always a Create button that opens the element type chooser:
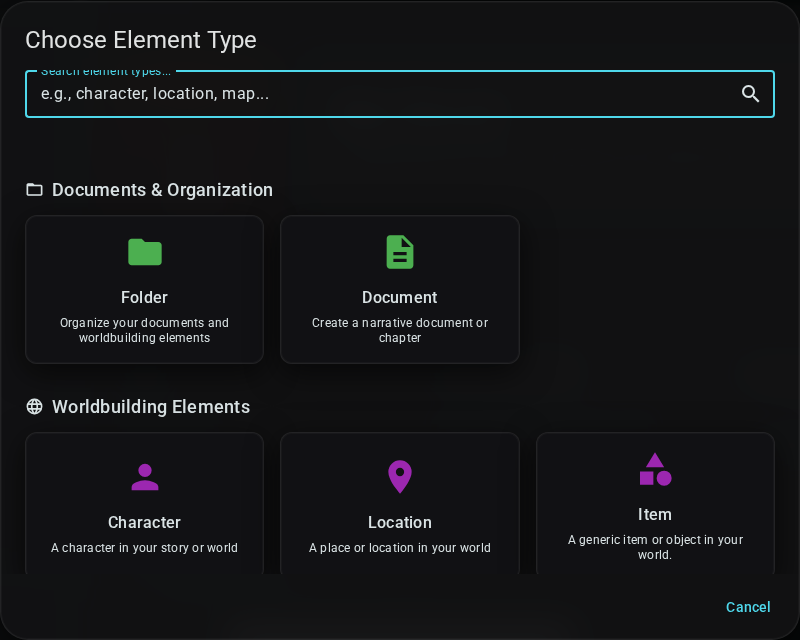
- Click the Create button
- Choose Document (or another element type)
- Enter a title for your new element
- Click Create
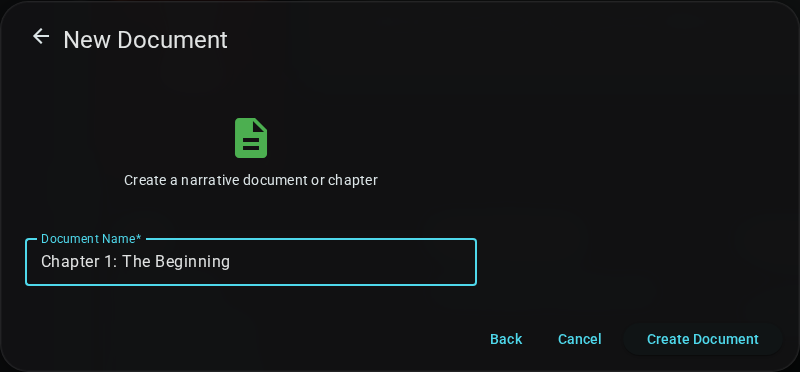
The new document opens automatically in a new tab.
From the Toolbar
The navigator toolbar has two buttons for quickly creating elements:
- New Document (📄+) — Opens the element type chooser
- New Folder (📁+) — Creates a folder directly (skips type chooser)
If you have a folder selected in the tree, new elements will be created inside that folder.
From Context Menu
Right-click on a folder to create elements inside it:
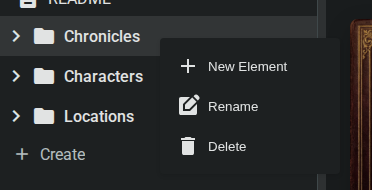
- Right-click on a folder in the project tree
- Select New Element
- Choose the element type
- Enter a title
- Click Create
Document Types
Text Documents
Standard documents for prose writing:
- Chapters and scenes
- Notes and planning
- Research and references
- Any freeform text
These use the rich text editor. See The Editor for details.
Worldbuilding Elements
Structured entries with customizable templates:
- Characters with profile fields
- Locations with details
- Items with properties
- Custom types you define
See Worldbuilding Elements for details on creating structured element types.
Opening Documents
Click any document in the project navigator to open it in a new tab. If the document is already open, clicking it will switch to that tab.
See Project Interface for more on working with tabs.
Editing Documents
Basic Editing
See The Editor for comprehensive editing instructions.
Quick reference:
- Click in the document to place your cursor
- Type to add text
- Use the toolbar for formatting
- Changes save automatically
Autosave
Documents save automatically:
- Every few seconds while typing
- When you switch documents
- When you leave the project
The connection indicator in the navigator shows sync status.
Renaming Documents
From Context Menu
- Right-click the document in the project tree
- Select Rename
- Enter the new name
- Press Enter or click outside to confirm
From Tab Context Menu
- Right-click the document's tab
- Select Rename
- Enter the new name
- Press Enter to confirm
Moving Documents
Drag and Drop
The only way to move documents is drag and drop:
- Click and hold the document in the project tree
- Drag to the target folder
- Release to drop
You can also drag documents to reorder them within a folder.
:::tip Drag Indicator When dragging, the target folder highlights to show where the document will be placed. :::
Deleting Documents
Delete a Document
- Right-click the document in the project tree
- Select Delete
- Confirm the deletion
:::warning Permanent Deletion Deleted documents are permanently removed. There is no recycle bin. Consider these precautions:
- Create a snapshot before deleting if you're unsure
- Move to an archive folder instead of deleting
- Export your project regularly as a backup :::
Document Snapshots
Snapshots preserve document versions so you can restore previous content.
Creating a Snapshot
- Open the document
- Click the History button (🕐) in the editor toolbar
- Click Create Snapshot
- Enter a description (optional)
- Click Save
Viewing and Restoring Snapshots
- Click the History button in the toolbar
- Browse your snapshots
- Click a snapshot to preview its content
- Click Restore to revert to that version
:::tip Regular Snapshots Create snapshots:
- Before major revisions
- After completing a chapter
- Before sharing for feedback
- At project milestones :::
Next: Using Tags - Categorize and filter your story elements.