Creating Your First Project
Ready to start writing? Creating a project in Inkweld is a two-step process: choose a template, then enter your project details.
Step 1: Click the Create Button
From the bookshelf, click the + Create button in the top navigation bar. This takes you to the project creation page.

Step 2: Choose a Template
The first step is selecting a template that defines your project's starting structure:
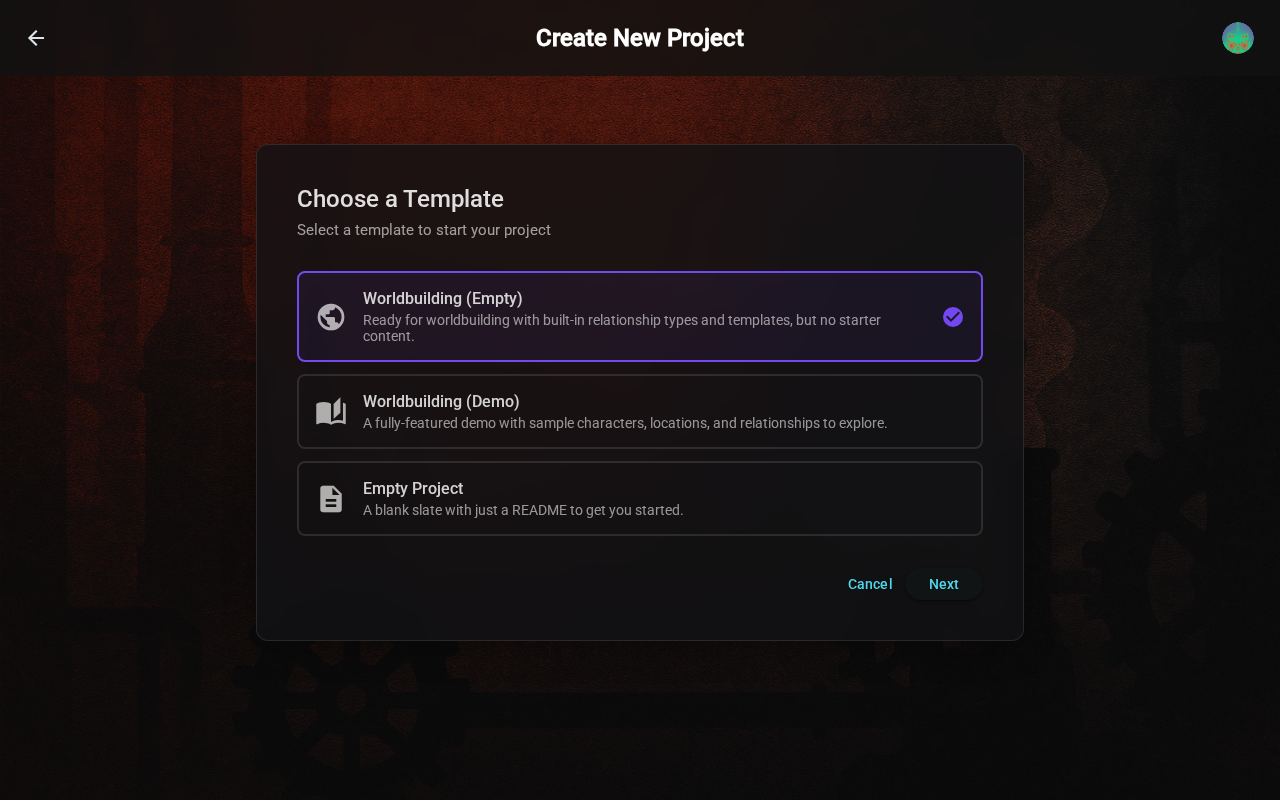
Templates provide different starting points:
| Template | Best For | What You Get |
|---|---|---|
| Empty Project | Complete flexibility | A blank project with no pre-created folders |
| Novel | Fiction writers | Chapters folder, character & location worldbuilding |
| Worldbuilding | World creators | Organized folders for characters, locations, factions, lore |
| Demo Project | Learning Inkweld | Sample content showing all features |
:::tip Try the Demo If you're new to Inkweld, start with the Demo Project template. It includes example content that shows how to use all the features. :::
Select your template and click Next to continue.
Step 3: Enter Project Details
Now enter the basic information for your project:
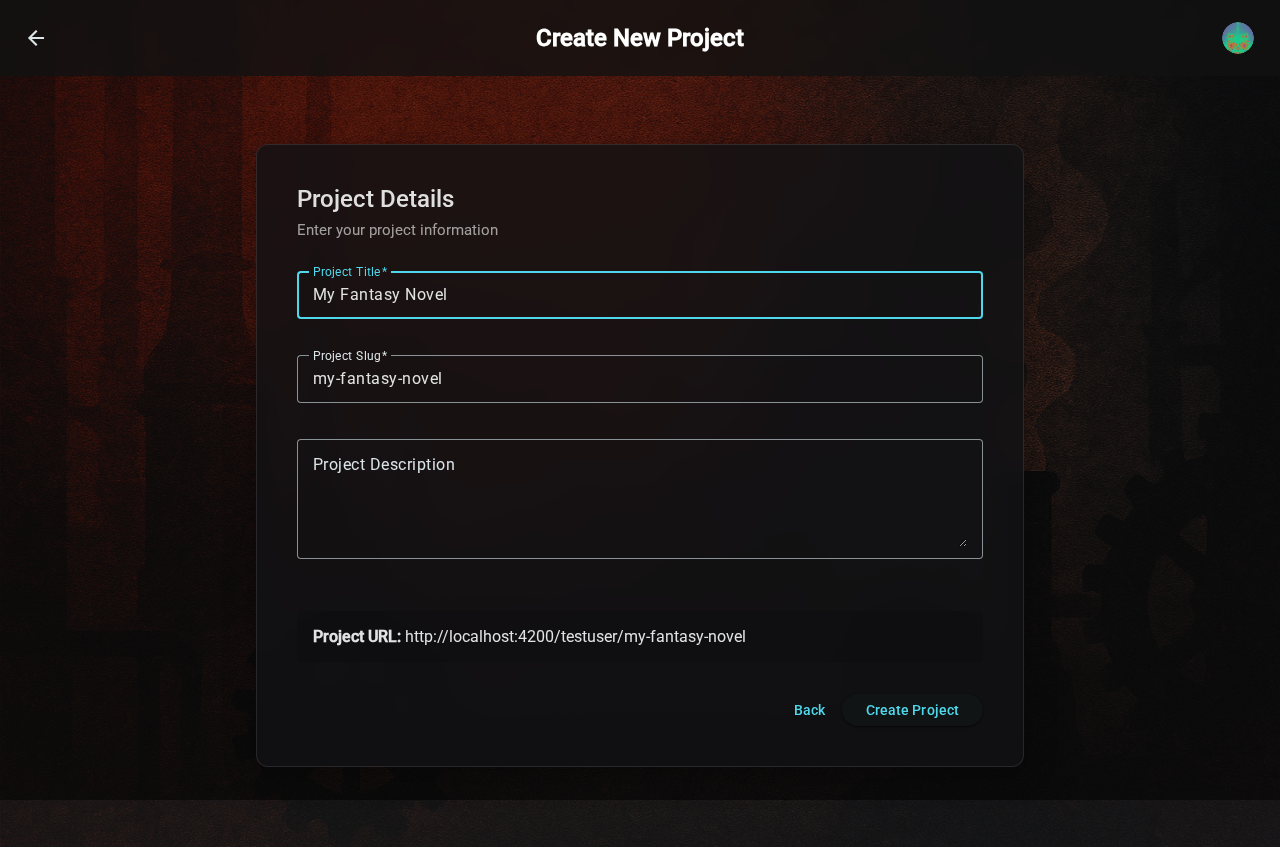
| Field | Description | Example |
|---|---|---|
| Title | Display name for your project | "The Dragon's Legacy" |
| Slug | URL-safe identifier (auto-generated) | the-dragons-legacy |
| Description | Short summary or tagline (optional) | "An epic fantasy adventure" |
The slug is automatically generated from your title. It's used in URLs like inkweld.example.com/username/the-dragons-legacy.
Click Create Project when you're ready.
You're In!
After creation, you're taken directly into your new project. What you see depends on your chosen template:
- Empty/Novel templates: A clean workspace ready for your content
- Worldbuilding template: Pre-organized folders for your world
- Demo template: Example content you can explore and modify
What's Next?
Now that you have a project, learn about the Project Interface to understand how to navigate and work within your project.