Project Settings
Project settings let you update your project's metadata and cover image. Access them from the project menu.
Opening Project Settings
- Open your project
- Click the three-dot menu (⋮) in the project header
- Select Edit Project
Project Details
Title
The display name of your project, shown on the dashboard and in exports.
Description
An optional summary of your project. Helps identify the project on the dashboard.
Cover Image
Set a visual cover for your project. The cover appears on the dashboard and can be used in exports.
Upload an Image
- Click Upload Image
- Select an image file from your device
- Crop the image to fit the cover dimensions
- Save your changes
Select from Library
Choose an existing image from your project's media library:
- Click Select from Library
- Pick an image from the media library dialog
- The selected image becomes your project cover
Generate with AI
If AI image generation is enabled on your server:
- Click Generate with AI
- Follow the prompts to create a cover
- The generated image becomes your project cover
See AI Image Generation for details.
Remove Cover
Click the remove button (×) on the cover image to remove it.
Renaming a Project (Changing the URL)
You can change your project's URL slug (the part that appears in the browser address bar). This is useful if you want to give your project a new, more descriptive URL.
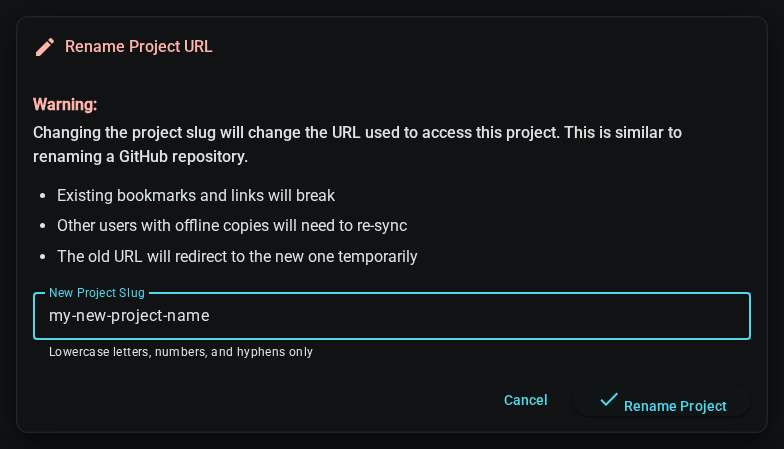
Changing the project URL has important consequences:
- Existing bookmarks and links will break — anyone who saved a link to the old URL will need the new one
- Collaborators with offline copies will need to re-sync — their local data will be migrated to the new project URL
- The old URL will temporarily redirect to the new one, but this is not permanent
To Rename Your Project
- Open your project and go to Settings
- Click the Danger Zone tab
- Find the Rename Project URL card and click the Rename Project button
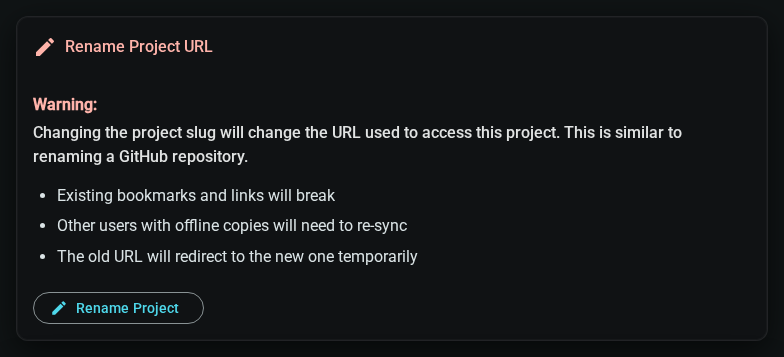
- Enter the new slug (lowercase letters, numbers, and hyphens only)
- Click Rename Project to confirm
After renaming, you'll be automatically redirected to the new project URL. All your documents, worldbuilding elements, and media will be preserved.
What Gets Migrated
When you rename a project:
- ✅ All documents and their content
- ✅ All worldbuilding elements and relationships
- ✅ All media files (images, covers)
- ✅ All publish plans and exported files
- ✅ All snapshots and version history
- ✅ MCP keys (re-keyed to new project path)
- ✅ Collaborator access and permissions
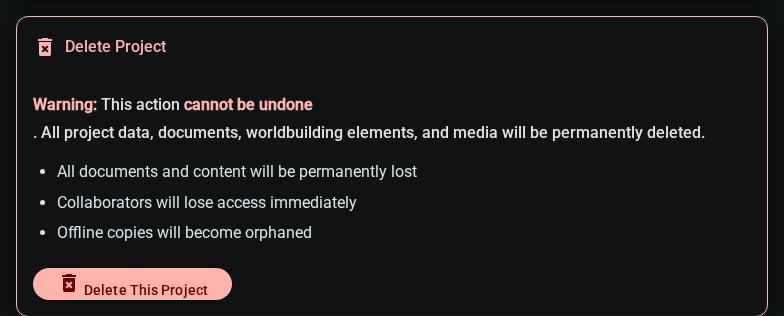
Deleting a Project
Deleting a project permanently removes all content. This cannot be undone.
The Delete Project option is located in the Danger Zone tab:
- Open your project and go to Settings
- Click the Danger Zone tab
- Find the Delete Project card
- Click Delete Project
- Type the project name to confirm
- Click Delete Permanently
You've completed the Inkweld User Guide! For additional help:
- Visit the main Documentation
- Check Troubleshooting