Canvas
The Canvas element type gives you a freeform infinite canvas for visual worldbuilding. Draw maps, create diagrams, add images, drop pins on locations, annotate with text — all organized into named layers.
Creating a Canvas
- Right-click in the Project Tree sidebar (or click the + button)
- Select New Canvas
- Give it a name (e.g., "World Map", "Battle Plan", "City Layout")
The canvas opens immediately in its own project tab.
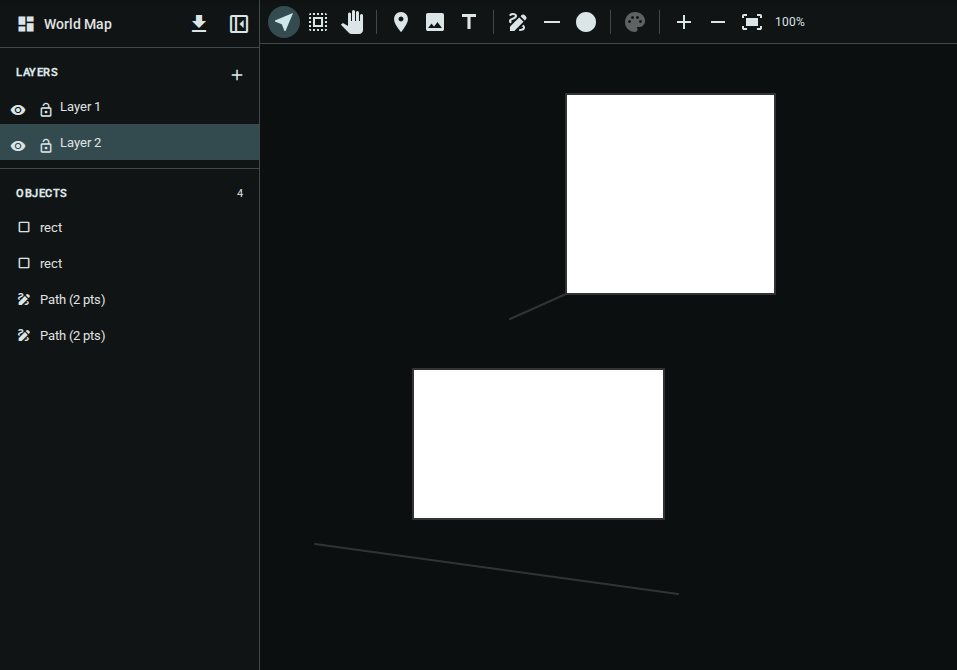
The Interface
| Area | Purpose |
|---|---|
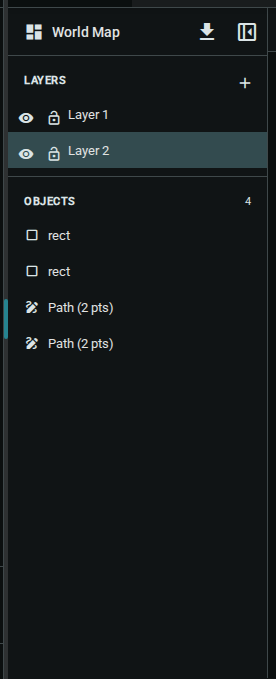
| Sidebar (left) | Layers panel and objects list for the active layer |
| Toolbar (top) | Tool selection, zoom controls, and export |
| Stage (center) | The infinite drawing surface |
The sidebar can be collapsed to give the stage more room. Click the collapse button in the sidebar header, or use the expand button on the left strip to bring it back.
Layers
Layers let you organize objects independently, similar to illustration software. Objects on higher layers appear in front of objects on lower layers.
Managing Layers
| Action | How |
|---|---|
| Add a layer | Click the + button in the Layers header |
| Select a layer | Click its row in the layers list |
| Rename a layer | Click ⋮ → Rename |
| Duplicate a layer | Click ⋮ → Duplicate |
| Delete a layer | Click ⋮ → Delete (requires at least 2 layers) |
Layer Visibility & Lock
Each layer row has two quick-toggle buttons:
- Eye (👁) — hide or show all objects on that layer
- Lock (🔒) — prevent accidental edits to objects on that layer
Objects on hidden layers are not exported.
Toolbar

Navigation Tools
| Tool | Shortcut | Description |
|---|---|---|
| Select | V | Click to select and move objects |
| Rectangle Select | R | Drag to select multiple objects |
| Pan | H | Click and drag to scroll the canvas |
Creation Tools
Creation tools are enabled when a layer is active. Objects are added to whichever layer is currently selected.
| Tool | Shortcut | Description |
|---|---|---|
| Pin | P | Drop a location marker on the canvas |
| Image | — | Open the media library to place an image |
| Text | T | Click on the canvas to add a text label |
| Freehand Draw | D | Draw freely with the pointer |
| Line | L | Click and drag to draw a straight line |
| Shape | S | Draw a shape — click the arrow to pick Rectangle, Ellipse, Arrow, or Line |
Other Controls
| Control | Description |
|---|---|
| Palette | Edit the fill and stroke colors of the selected object |
| Zoom In / Out | Step the zoom level up or down |
| Fit All | Zoom to show all objects on the canvas |
| Export | Export the canvas as PNG or SVG |
| Zoom label | Shows the current zoom percentage |
Objects Panel
The Objects section in the sidebar lists all objects on the active layer. Click an object row to select it on the stage.
When a layer has no objects, a hint tells you how to add your first one.
Context Menu
Right-click anywhere on the canvas (or on a selected object) to open the context menu:
| Action | Description |
|---|---|
| Cut | Remove the selected object and copy it to the clipboard |
| Copy | Copy the selected object |
| Paste | Place a copy of the clipboard object |
| Duplicate | Duplicate the selected object in place |
| Delete | Remove the selected object |
| Send to Layer | Move the selected object to a different layer |
Standard keyboard shortcuts also work: Ctrl+C / Cmd+C to copy, Ctrl+X / Cmd+X to cut, Ctrl+V / Cmd+V to paste, Ctrl+D / Cmd+D to duplicate, and Delete to remove.
Exporting
Export the visible canvas at any time:
- Click the download button in the sidebar header (or the collapsed sidebar strip)
- Choose an export format:
- Export as PNG — standard 2× resolution raster image
- Export as PNG (High-res) — 3× resolution for print or high-DPI displays
- Export as SVG — scalable vector format; ideal for further editing in tools like Inkscape or Illustrator (raster images on the canvas are replaced with a placeholder)
Only visible layers are included in the export.
Tips
- Start with one layer and add more only when you need to separate elements (e.g., put terrain on one layer and annotations on another)
- Lock finished layers to avoid accidentally moving objects you're happy with
- Hide layers during export to produce cleaner output — e.g., hide a grid or reference layer before exporting
- Use Pan mode (
H) to navigate the canvas without risk of accidentally moving objects - Freehand draw works best with a stylus or trackpad; for crisp lines use the Line tool instead
- The canvas is saved automatically as you work — no explicit save step is needed
Previous: Relationships — Define connections between elements.