Using Tags
Tags help you organize and categorize your project elements with visual labels. Use them to track character roles, document status, or any categorization that makes sense for your project.
What Are Tags?
Tags are colored labels you create and apply to elements:
- Visual identification: Quickly spot element categories
- Categorization: Group related elements
- Flexibility: Create any tags you need
Tag Properties
Each tag has:
| Property | Description |
|---|---|
| Name | Short descriptive label (e.g., "Protagonist") |
| Icon | Material icon from a preset selection |
| Color | One of 16 preset colors |
| Description | Optional explanation of the tag's purpose |
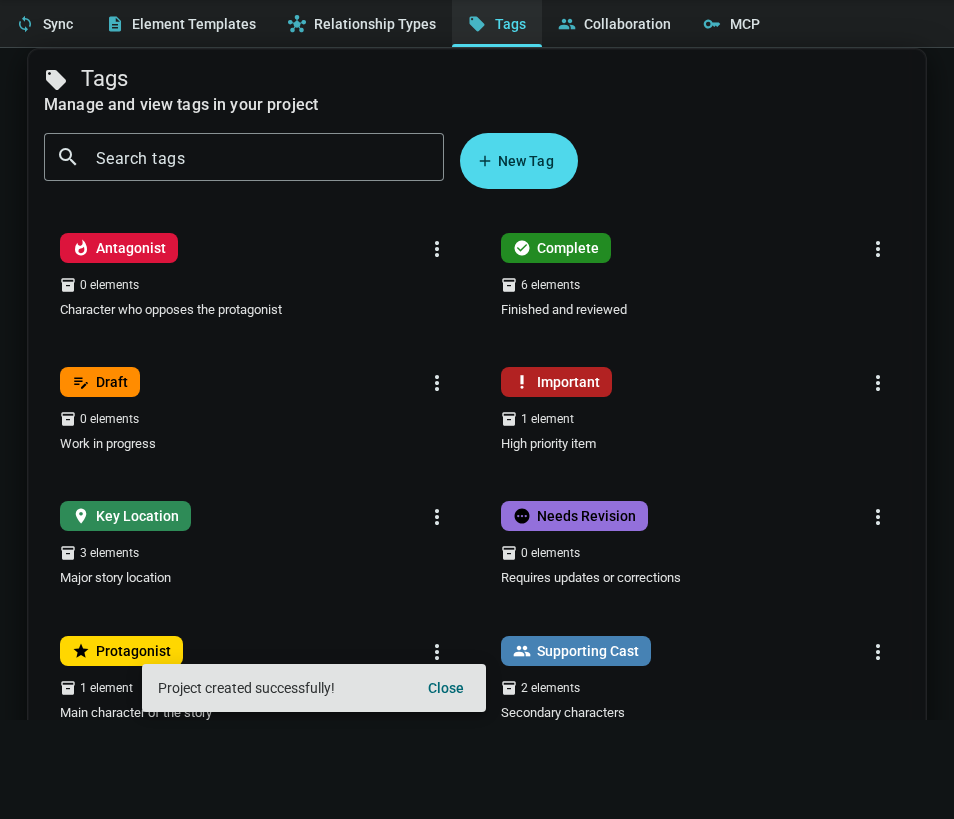
Managing Tags
Accessing Tag Management
Tags are managed in Project Settings:
- Open your project
- Click the Settings button in the navigator sidebar
- Select the Tags sub-tab
Creating a Tag
- Click New Tag
- Select a color from the palette
- Enter a name (required)
- Optionally add a description
- Choose an icon from the grid
- Click Create
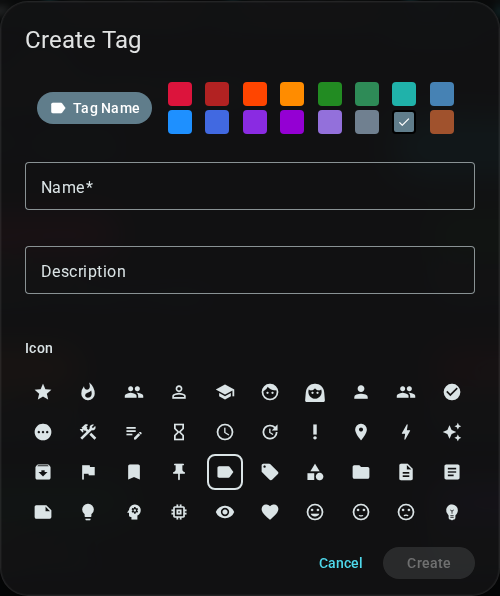
The preview at the top shows how your tag will appear.
Editing a Tag
- Find the tag in the Tags tab
- Click the menu (⋮) button on the tag card
- Select Edit
- Modify any properties
- Click Save
Changes apply to all elements using this tag.
Deleting a Tag
- Click the menu (⋮) button on the tag card
- Select Delete
- Confirm the deletion
Deleting a tag removes it from all elements. This cannot be undone.
Applying Tags to Elements
From the Editor Toolbar
Any document or element can have tags:
- Open the document or element
- Click the Tags button (🏷️) in the editor toolbar
- Select tags to apply, or type to search
- Tags are saved automatically
From the Identity Panel (Worldbuilding)
For worldbuilding elements, tags also appear in the identity panel:
- Open a character, location, or other worldbuilding element
- Find the Tags field in the identity panel (left sidebar)
- Click in the field to see available tags
- Select a tag to apply it
Quick Tag Creation
You can create tags directly while applying them:
- Type a tag name that doesn't exist
- Select Create "[name]" from the dropdown
- A new tag is created with default color and icon
- Edit it later in Project Settings > Tags if needed
Removing Tags
Click the × on a tag chip to remove it from that element. The tag still exists for other elements.
Tag Color Palette
Inkweld provides 16 preset colors. The exact shades are chosen for readability with white text. Pick colors that help you visually distinguish categories at a glance.
Tag Usage Ideas
Tags are flexible—use them however helps your workflow:
- Character roles: Protagonist, Antagonist, Supporting, Minor
- Story arcs: Arc 1, Arc 2, Arc 3
- Status: Draft, Complete, Needs Review
- Factions: Kingdom A, Kingdom B, Neutral
- Importance: Key, Background, Referenced
Next: Search & Navigation - Find content quickly in your project.